How to Make a Popup in Webflow to Boost Conversions?
Webflow is a web-based drag-and-drop tool for building responsive websites without any coding knowledge. In other words, it is an application that allows you to accomplish all aspects of web development. This is why Webflow is so loved by lots of website owners!
Furthermore, Popupsmart's popup editor is easy to use, which means you do not need to be a designer in order to create conversion-driven popup campaigns for your e-business.
We also offer lots of advanced features, like different targeting options, for you to work with a better popup builder.
Lots of webmasters have already chosen Popupsmart to have high-converting popups on their Webflow website. Guess what? They have maximized their digital conversions relatively. This could be you, too!
The following article with exhibitory images explains how to create a Webflow popup via Popupsmart or via the Webflow Panel.

How to Create a Webflow Popup with Popupsmart?
Let's have a look at how to create a smart popup in Webflow via Popupsmart's builder;
Step 1. Sign up for Popupsmart.

Step 2. Log in to your Popupsmart account.

Step 3. To create your first popup, install the embed code between the header tags of your websites.

Moreover, you can easily place the embed code on your website via Google Tag Manager.
This is a one-time necessity, so you can use the same embed code for all your websites as well as all your future popup campaigns.
Step 4. A modal window will pop up, showing your Popupsmart embed code. Simply copy this code to your clipboard.

Step 5. Next, access your Webflow website's admin panel. Within your Webflow Dashboard, select the website where you intend to incorporate your embed code, and then click on "Project Settings" using the Webflow icon located at the top left corner.

Step 6. Click the “Custom Code” on the “Project Settings” page.

Step 7. Scroll further down and insert your embed code within the "Footer Code" section. Your embed code should be placed just before the </body> tag. Afterwards, click the "Save Changes" button.

Step 8: After successfully adding your Popupsmart embed code to Webflow, you can navigate to the Popupsmart dashboard and access the "Websites" section through your profile.

Step 9: Click the "New website" option to include your Webflow website. Input your website's URL in the "Add a new website" field, and once you've finished, click the "Save" button. After saving your Webflow website, it will be verified.

Step 10: Navigate to the dashboard and select the "New Campaign" button.

Step 11: Select your business goal and choose a template that fits your needs.

Step 12: Design your popup campaign according to your preferences, making any necessary adjustments.

Edit the properties of your popup design, such as form fields, font options, buttons, images, and appearance via ”Customize” and ”Style” steps.
Pro Tip: By going to the ” Segment” step, you can adjust the segment and targeting options of your popup campaign.

We have different targeting options such as exit-intent targeting, on-click targeting, browser language, traffic source, geo-located targeting, URL targeting, after X seconds trigger, and more!
Subsequently, click both the "Save" and "Publish" buttons to finalize your campaign.
Note: You can connect your Popupsmart account with applications such as MailChimp and Zapier or with a webhook on the "Integrations" part of your form element.

After publishing your popup, you can observe the number of popup impressions, popup displays, actual conversions, and your campaign’s conversion rates instantly via the "Analytics" part.

You can also explore the leads by going to the "Leads" part.

The Leads table covers details about your leads, such as contact information they enter, device, country, city, date, browser, and more. By exploring these, you can get valuable insight into your audience.
Additionally, you can easily measure the effectiveness of your popup campaign thanks to our Popup ROI Calculator.
Now, it is time for you to grab a cup of coffee and enjoy maximizing your sales with Popupsmart's conversion-ready popups!
Note that to add a custom code to your website, you need to have an existing paid site plan or switch to an upgraded account plan.
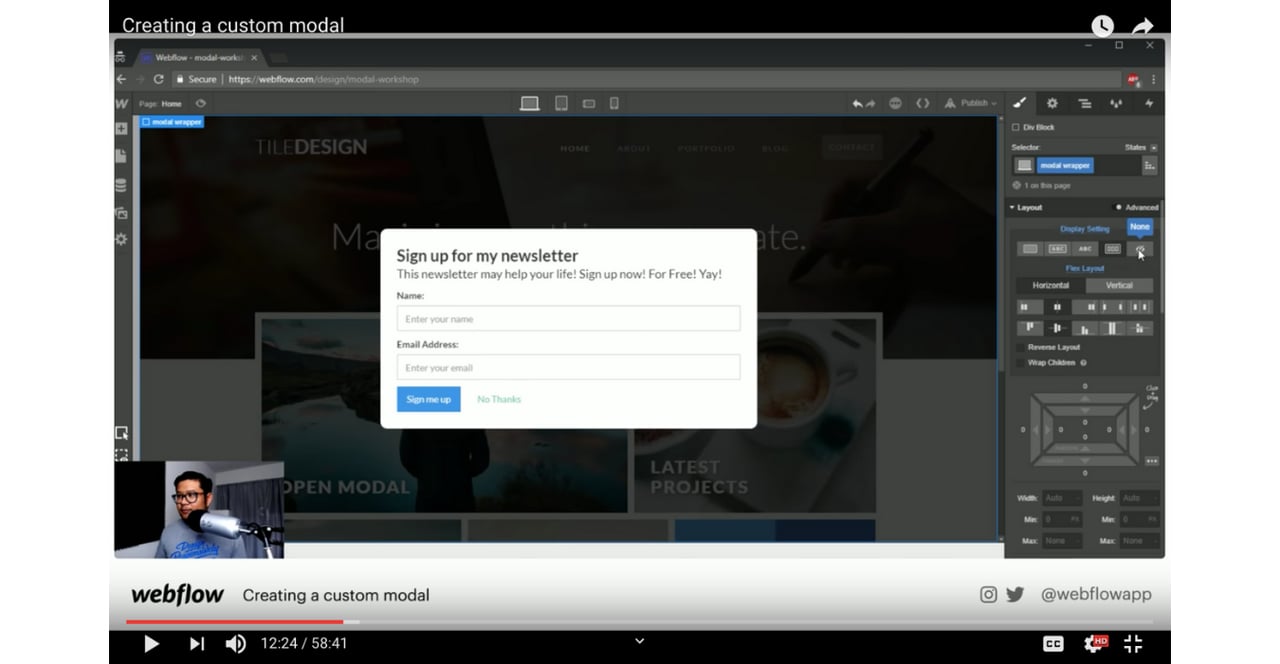
How to Create a Webflow Popup with the Webflow Design Tab?
I would like you to have a look at how to create a popup in Webflow via the Design tab.
Well, it is a bit of a complicated process; therefore, the best approach is to recommend a video so you can follow each step carefully;
I hope this guide on how to make a popup in Webflow proves useful for you to create high-converting popups and maximize your sales!
In case you want to take a look at how to add popups using different website builders, check the articles below:


