Increase Sales Conversion
Can’t turn your site traffic into sales?
Reduce Cart Abandonment
Your customers abandoning their carts?
Promote Products & Offers
Make potential customers notice special offers.
Collect Form Submission
Struggling to collect form submissions?
Get More Phone Calls
Let them call you directly via popups.
Grow Email List
Having trouble growing your email list?
Gamify Your Campaign
Choose your offer and let the game begin.
Make Announcement
Make sure important news unmissed.
Increase User Engagement
Keep visitors & customers on your site longer.
Collect Feedback & Surveys
Can’t draw attention to your surveys?
Facilitate Social Sharing
Grow social media followers and likes!


# How to Set Up Autoresponder Email Notifications
If you want to send an instant, pre-written email to every visitor who successfully fills in the data input on your popup and subscribes to your mailing list, then what you need is to set up an autoresponder email.
Here’s how:
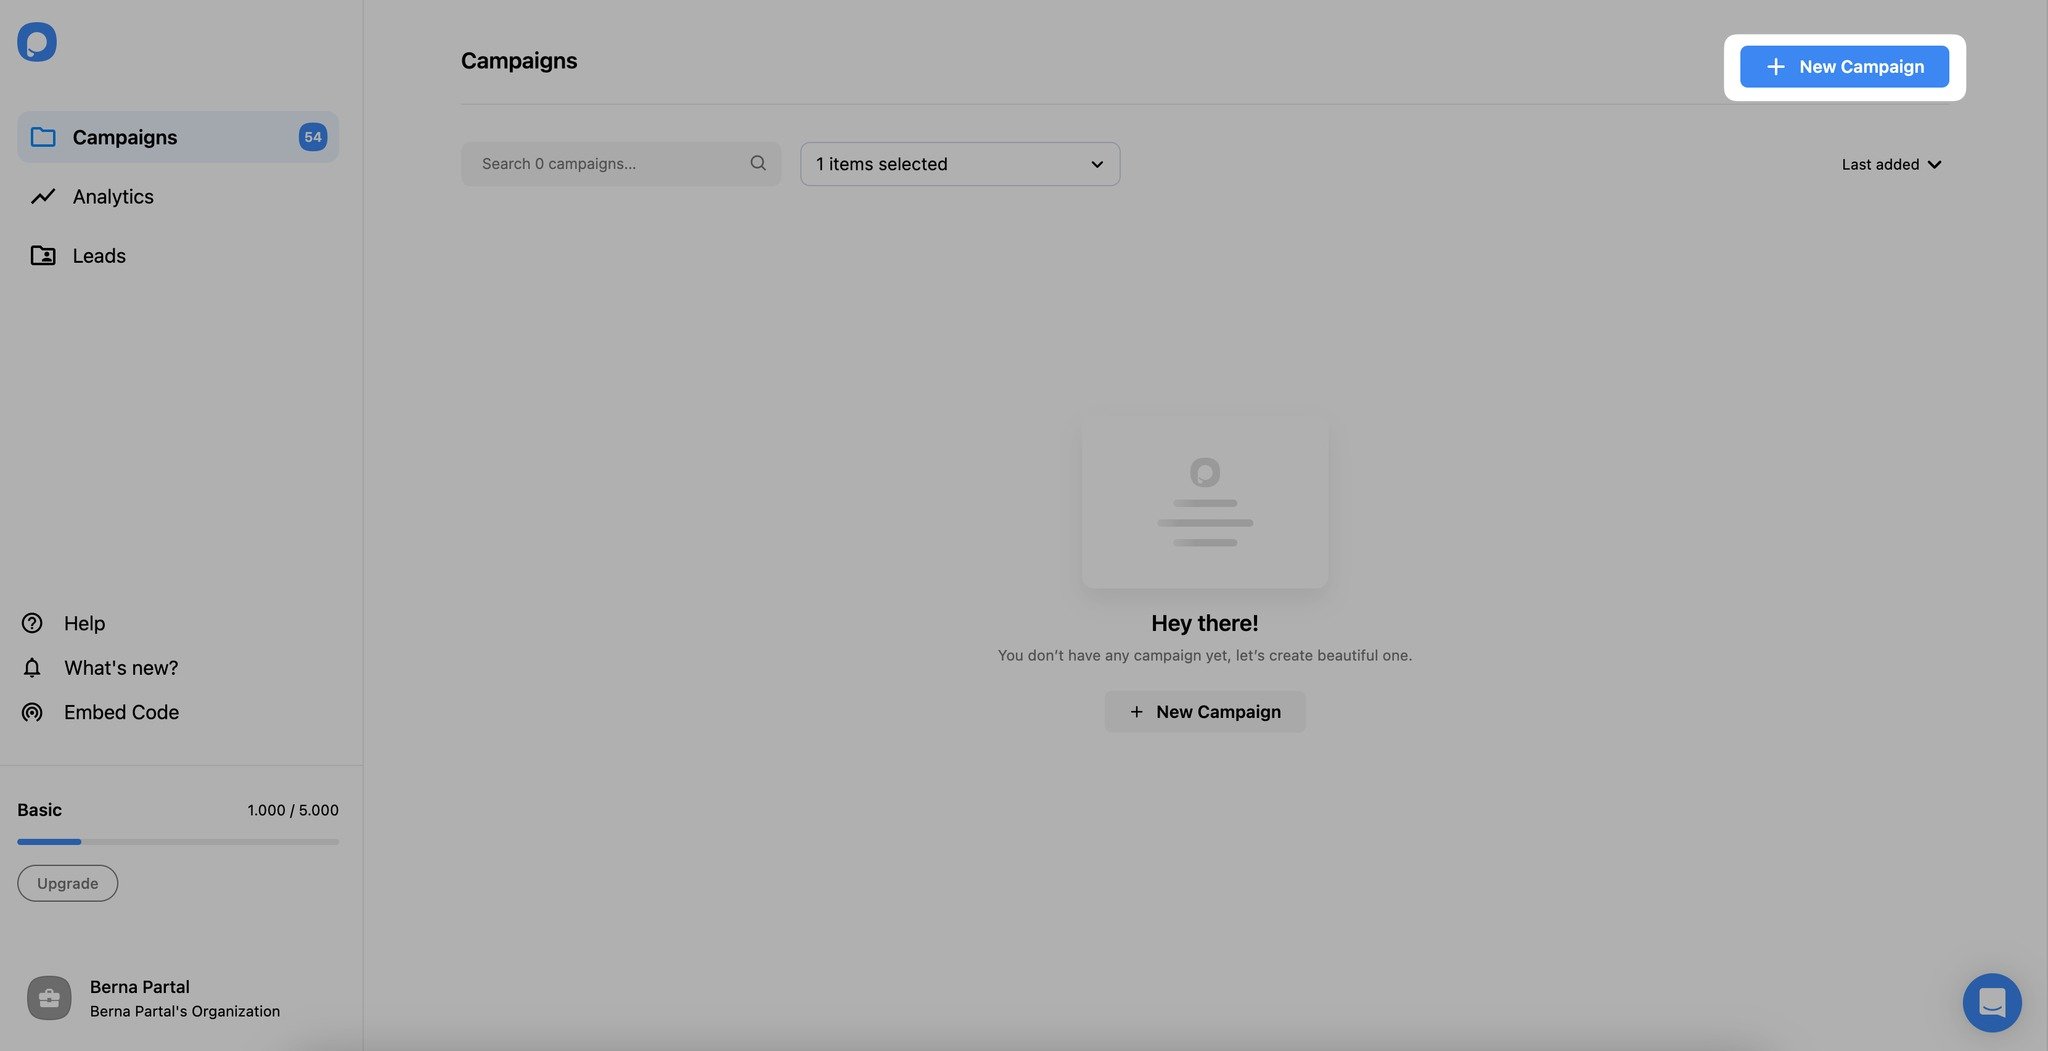
1. Create a new popup by clicking “New Campaign” or select an existing popup campaign on the “Campaigns” screen on the dashboard.
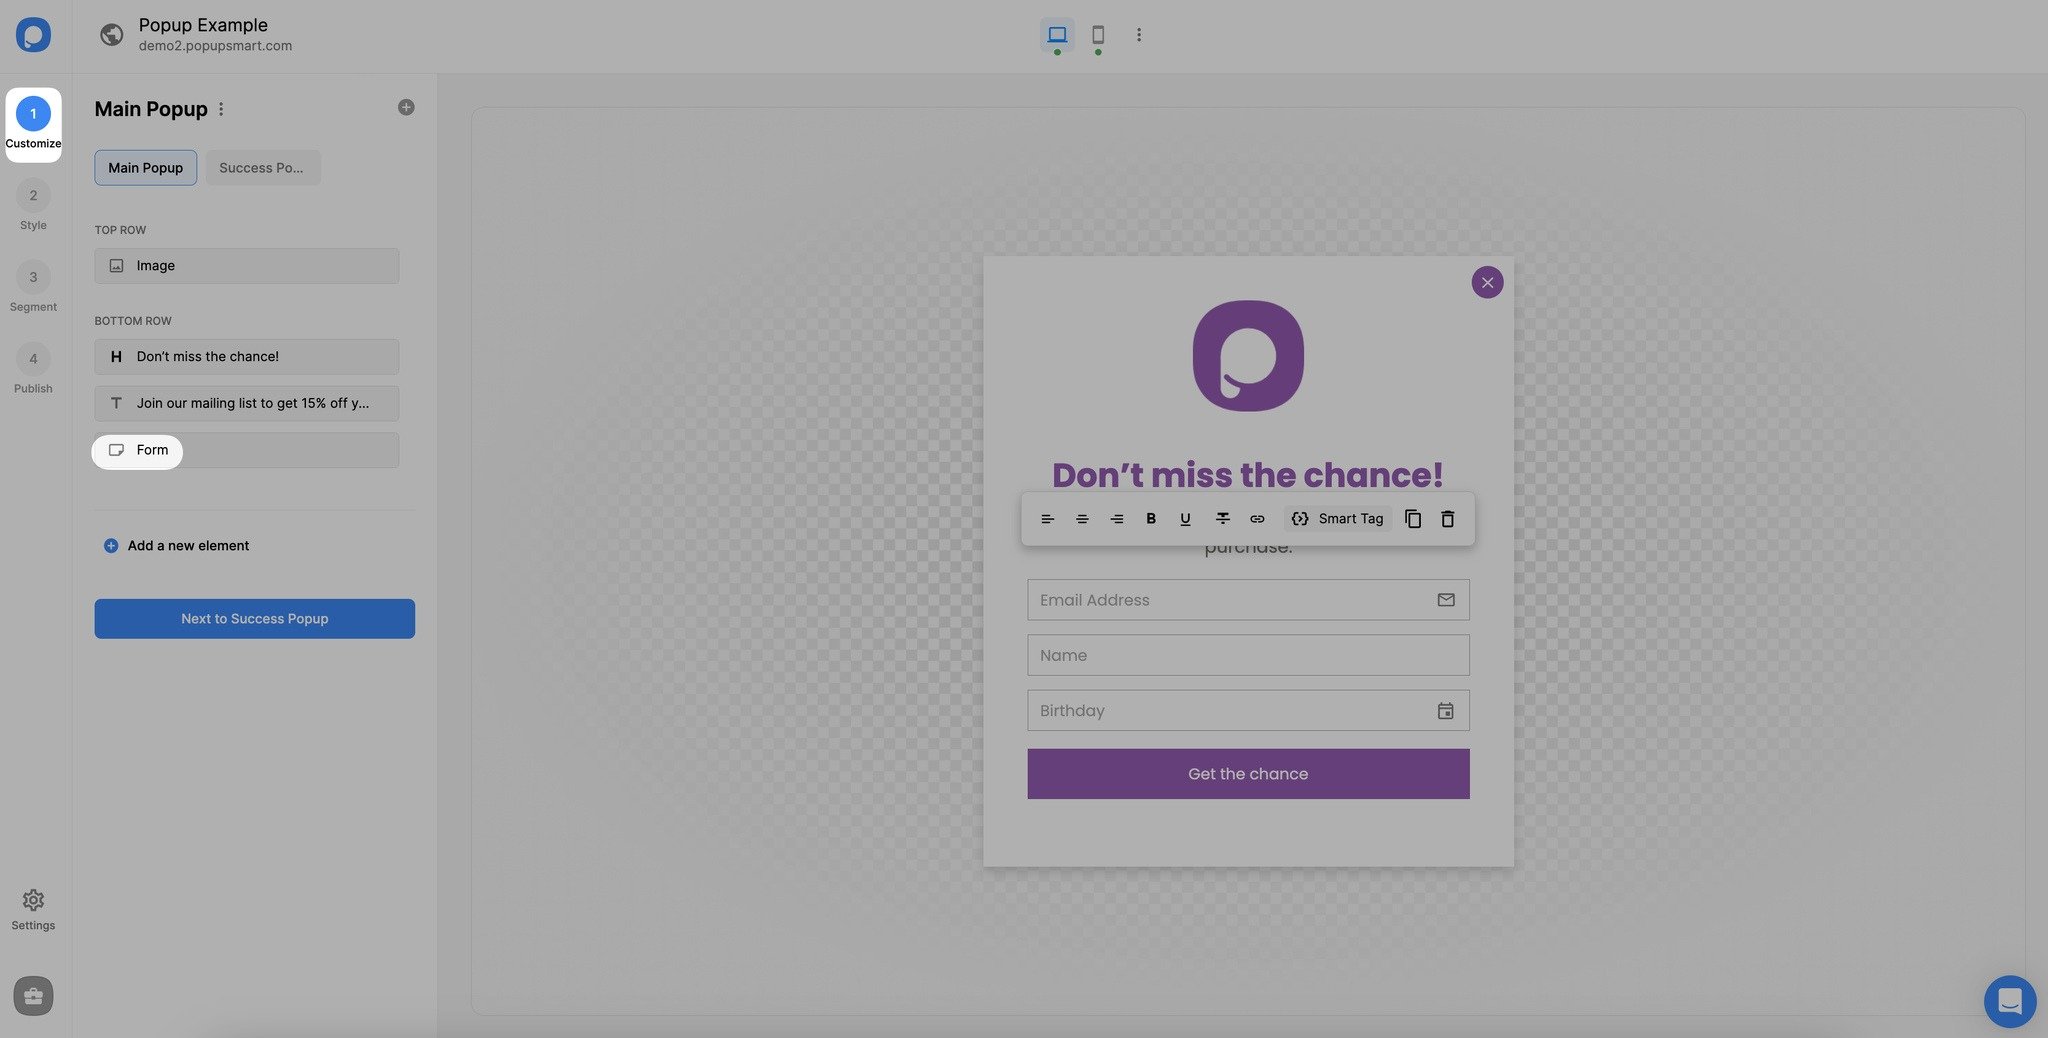
2. Then, from the “Customize” step, go to the “Form” element of your popup.
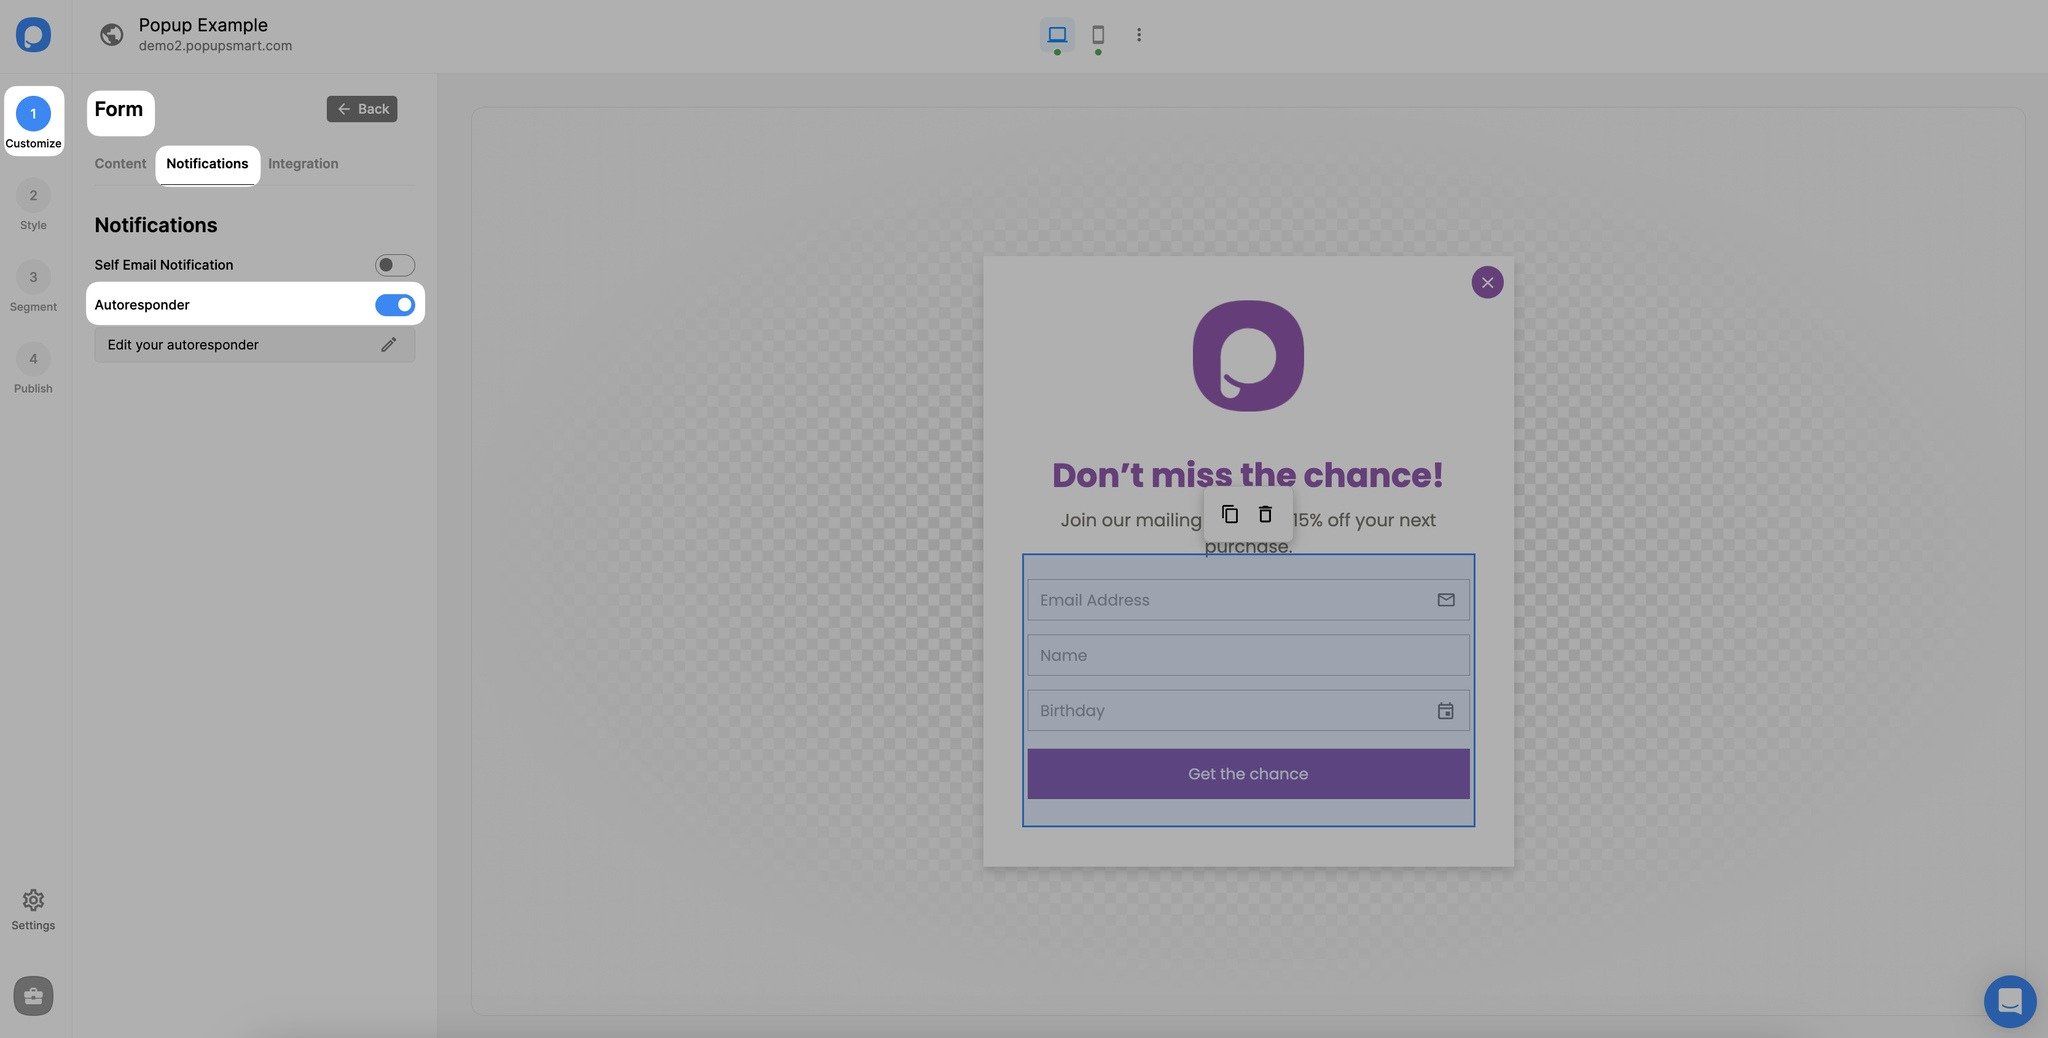
3. On the “Notifications” part, turn on the “Autoresponder” toggle.
4. Then, click “Edit your autoresponder” to set up your autoresponder by filling in the sender name, reply to, subject, and email body parts.
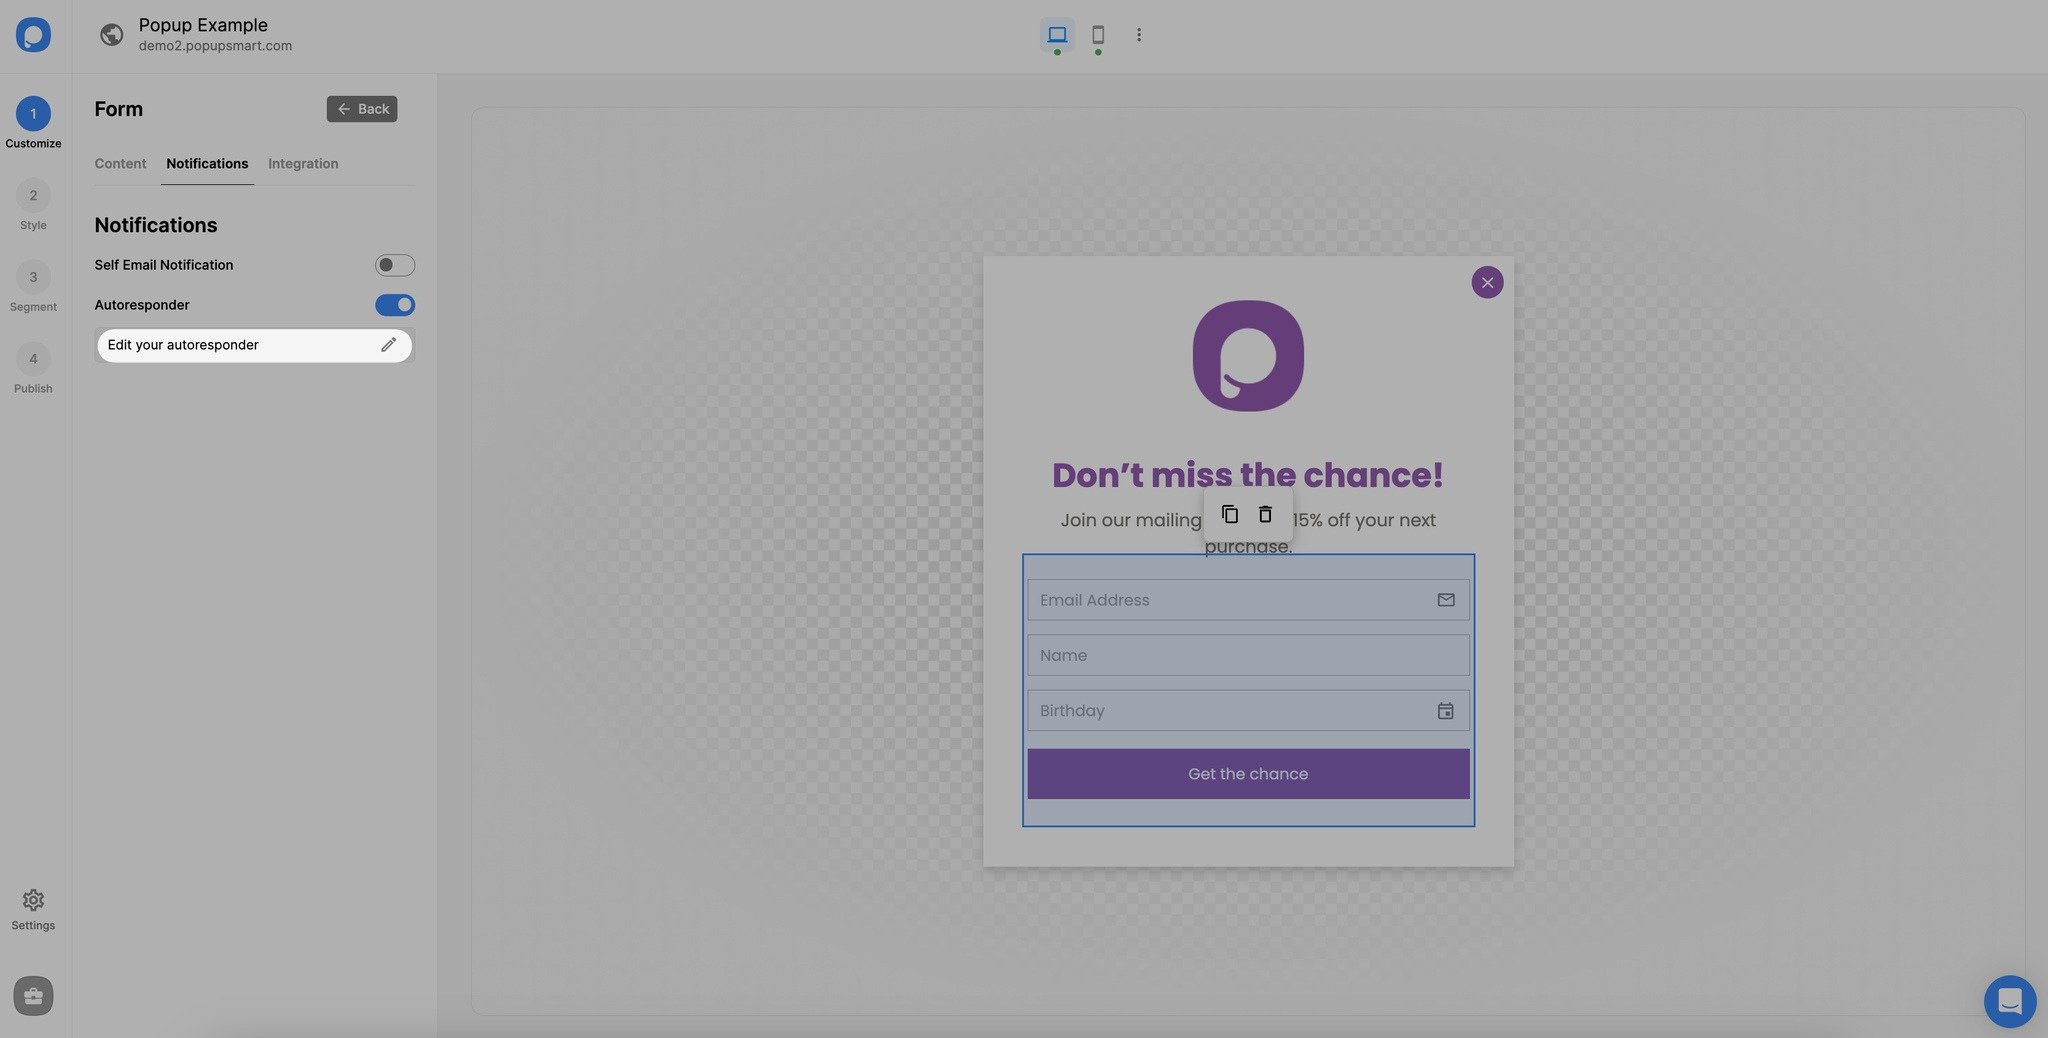
The sender’s name can be your name or company name.
5. Add your company’s email address (it can be a no-reply address, too) into the “Reply-To” field. Enter the Subject. This will be your autoresponder email’s subject line. The bottom box is the main body of the email template. You can edit, format, and style it as you like.
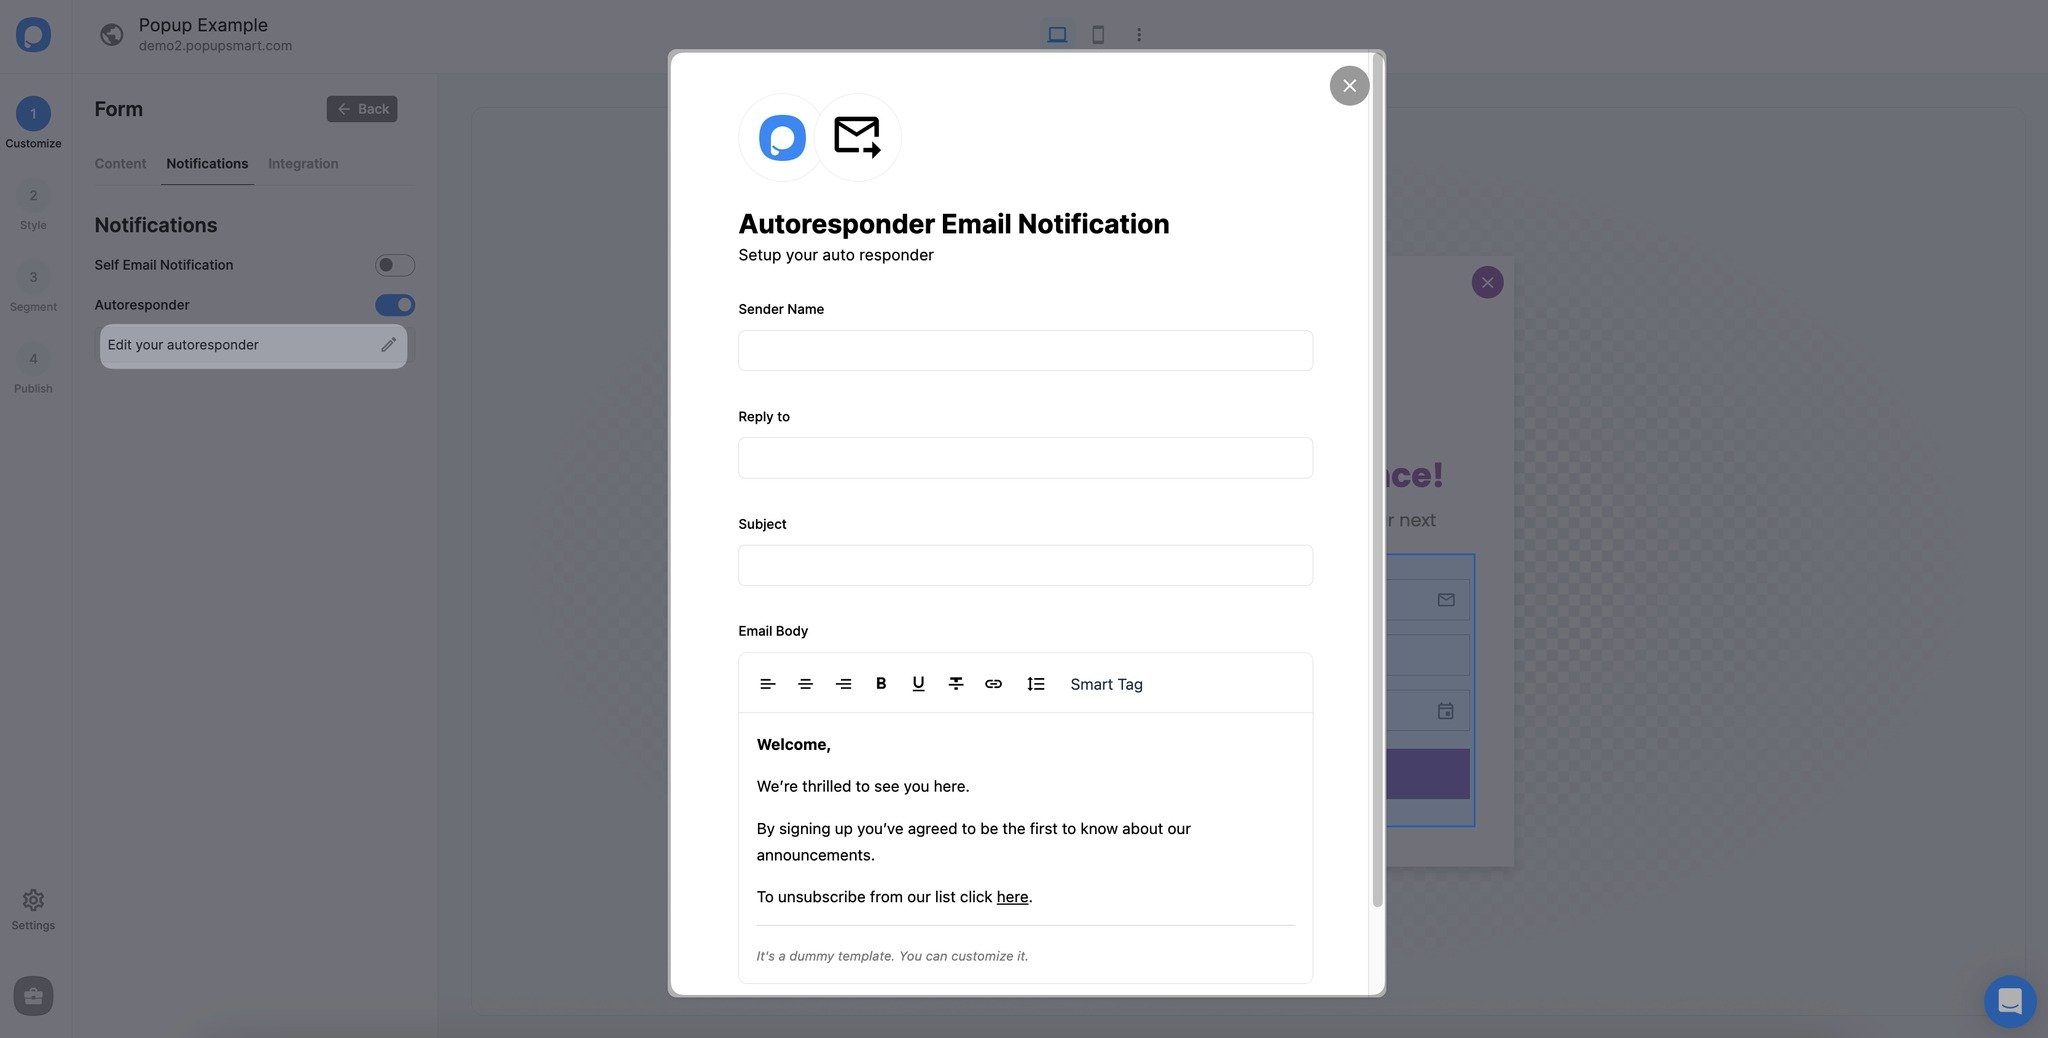
The “Smart Tags” dropdown menu consists of the system field tags and the unsubscribe tag. From the “Smart Tags” modal, you can add smart tags to your autoresponder email notifications as well.
Note: Popupsmart pulls the data for the tags from popup system fields. For example, the email address tag () dynamically changes into the entered email on the popup when sent. Tags do not replace dynamically on the builder.
Note: You can also set up autoresponder email notifications by going to the “Settings” part and scrolling down to the “Respondent Email Notification” part as shown below:
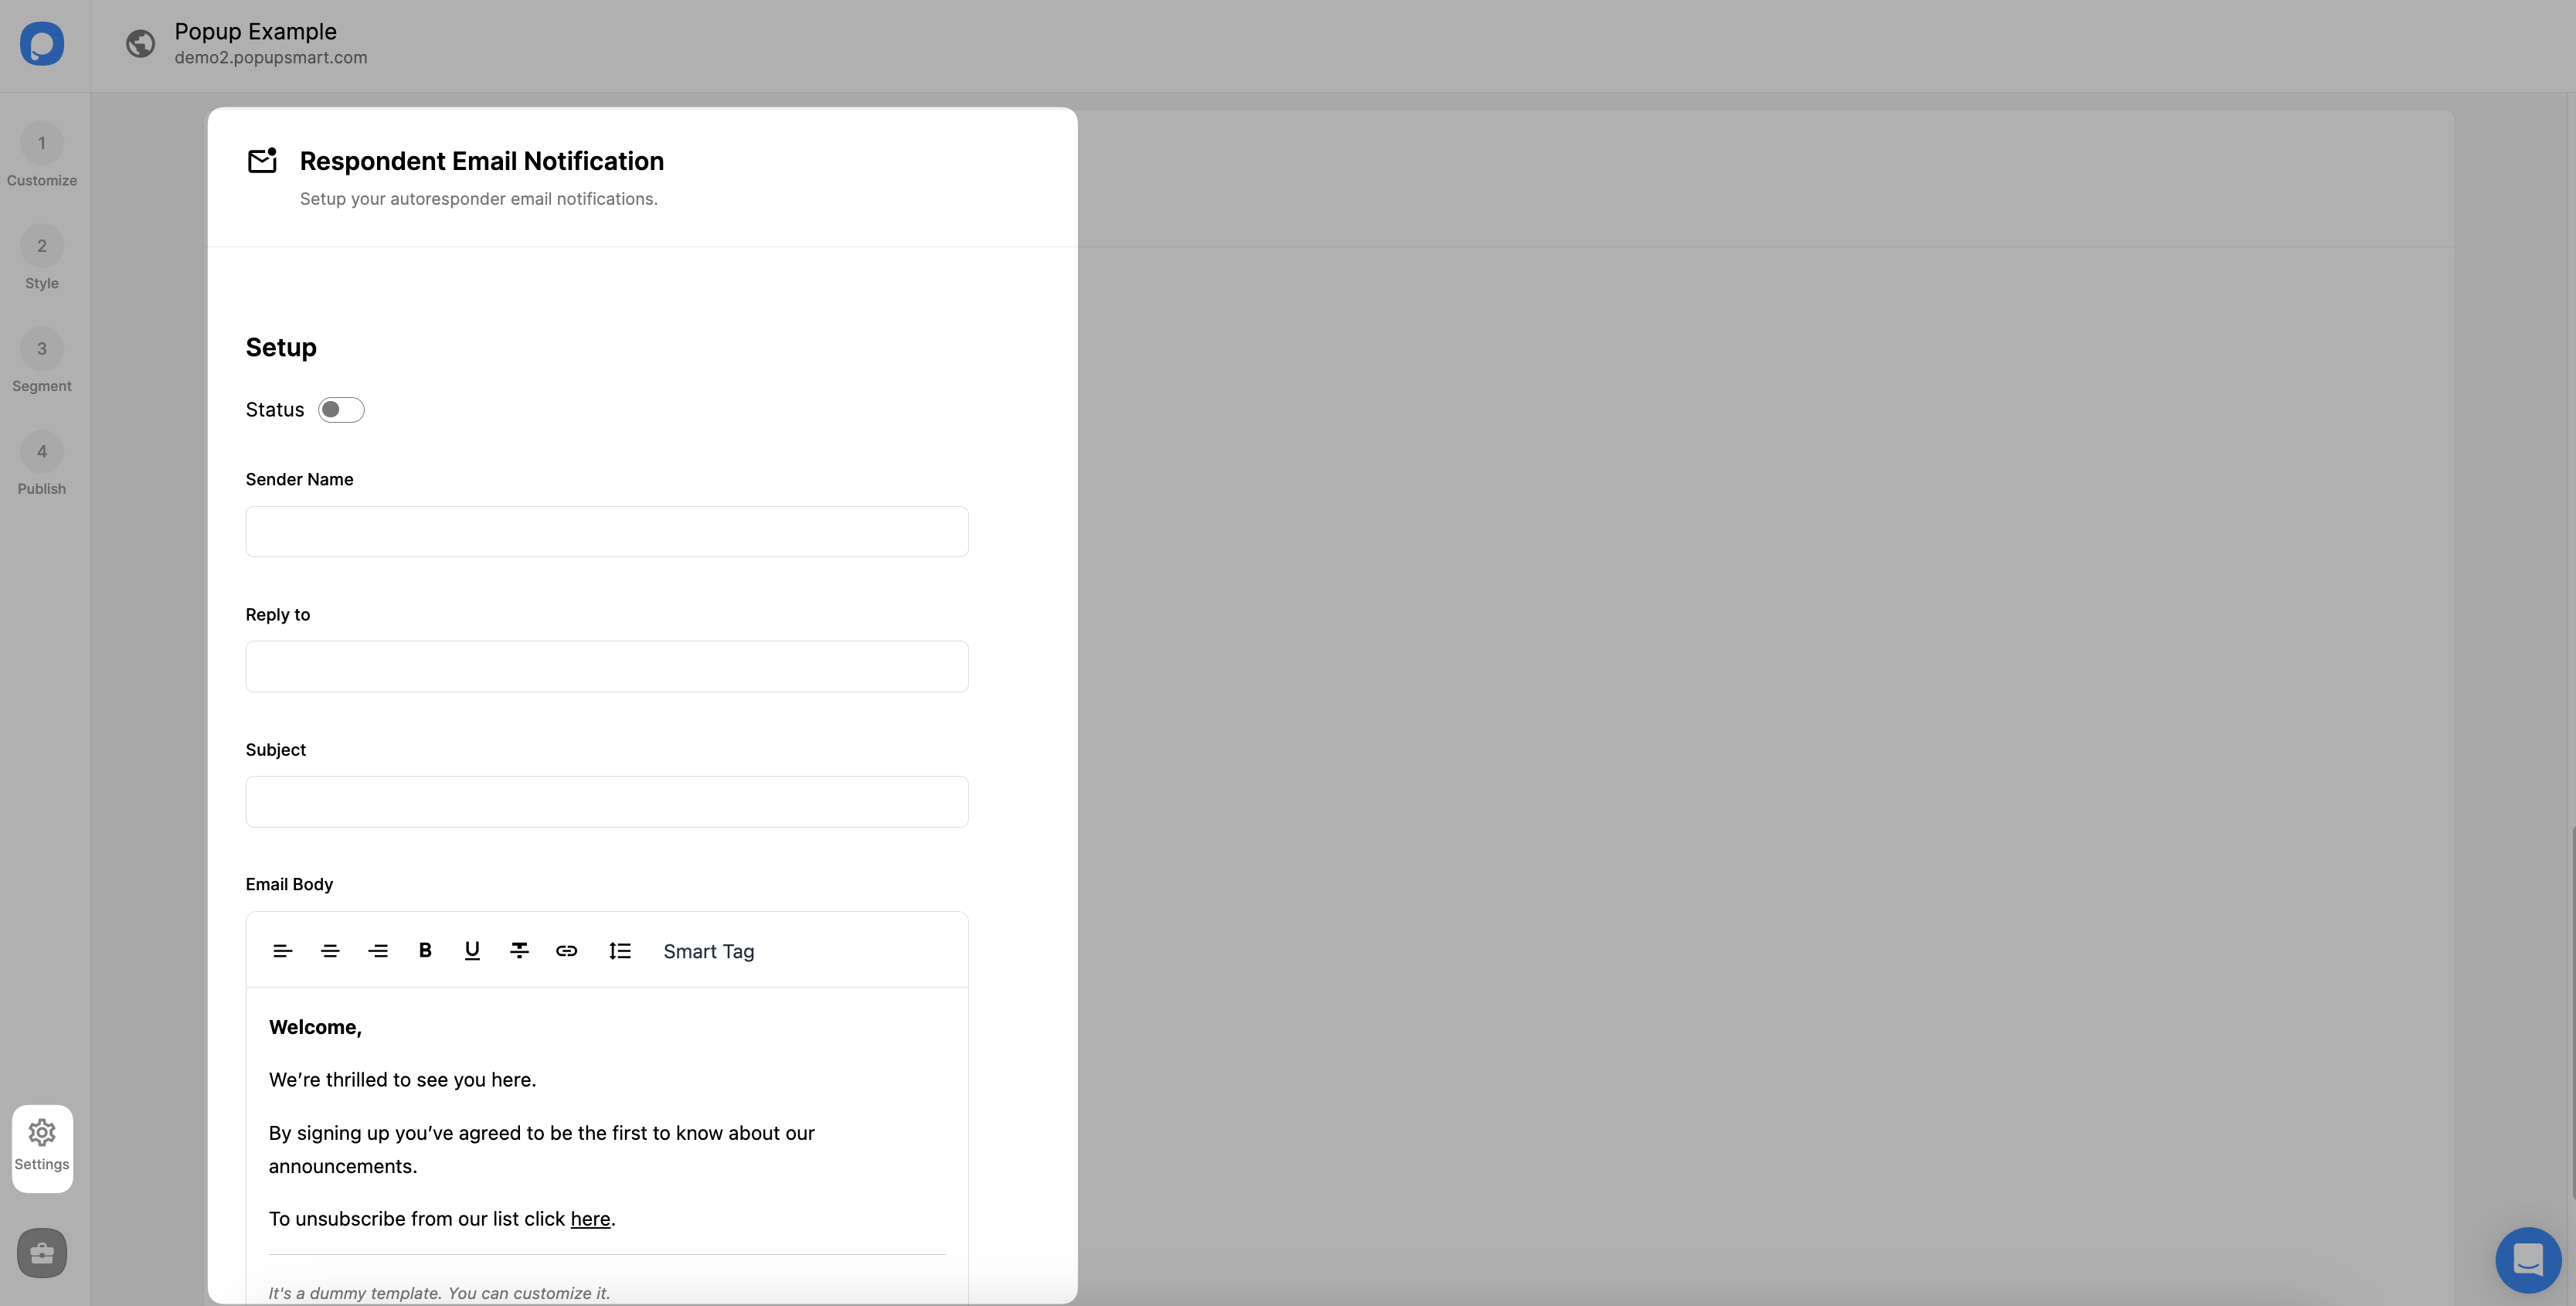
The setup process is the same as we have explained above.
If you have any questions about setting up autoresponder email notifications, Contact us via live chat or email us at [email protected].